CKEditor 5 / 설정하고 사용하는 방법
CKEditor는 JavaScript 기반의 WYSIWYG 에디터이다. 어떻게 설정하고 사용하는지 간략하게 알아본다.
Modern JavaScript rich text editor with a modular architecture. Its clean UI and features provide the perfect WYSIWYG UX for creating semantic content.
CKEditor에는 Classic editor, Inline editor, Balloon editor, Balloon block editor, Document editor 다섯 가지의 타입이 있는데, 아래의 예는 모두 Classic editor를 기준으로 한다.
CDN으로 사용하기
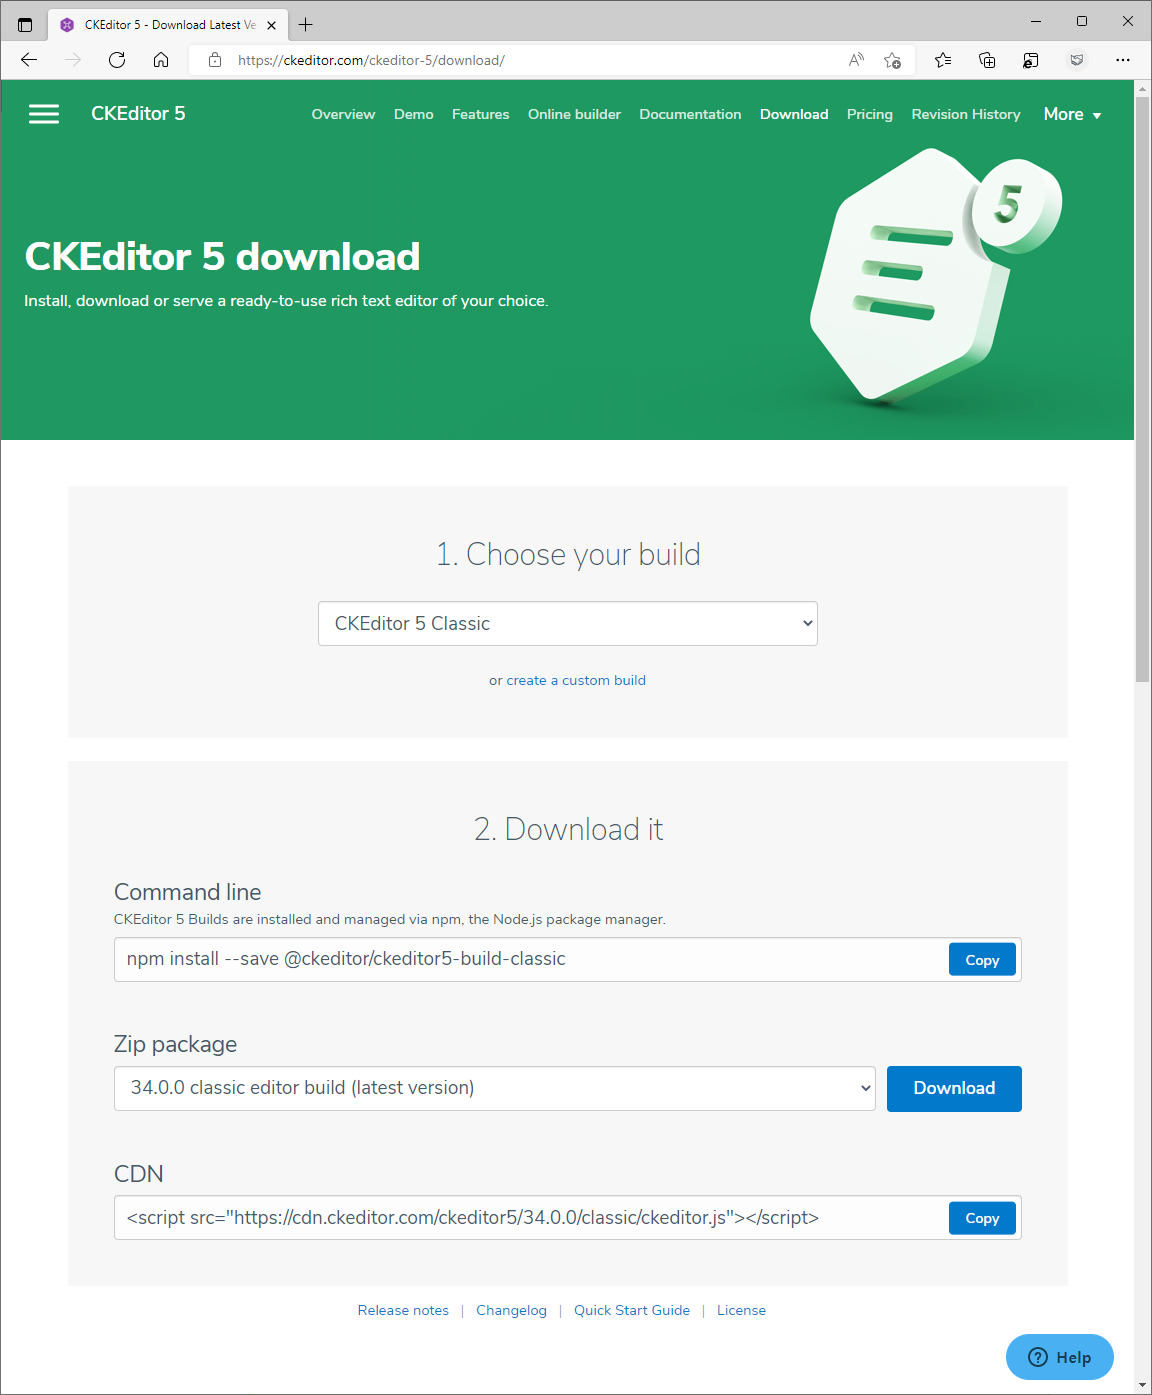
CDN 링크는 https://ckeditor.com/ckeditor-5/download/에서 확인한다.
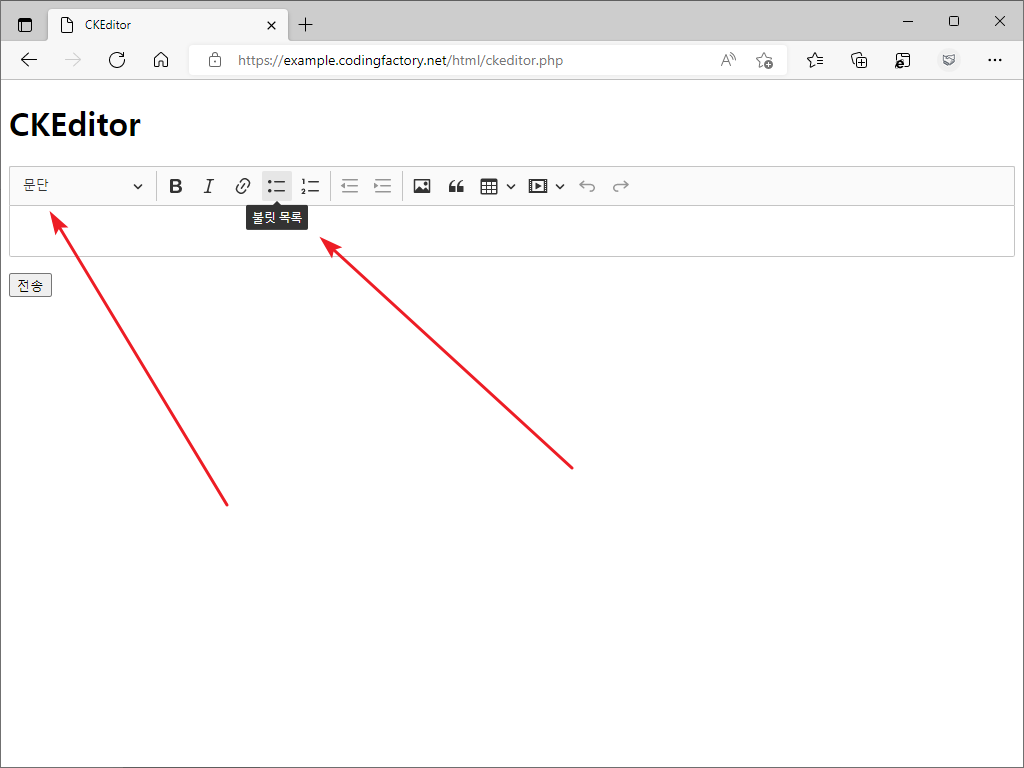
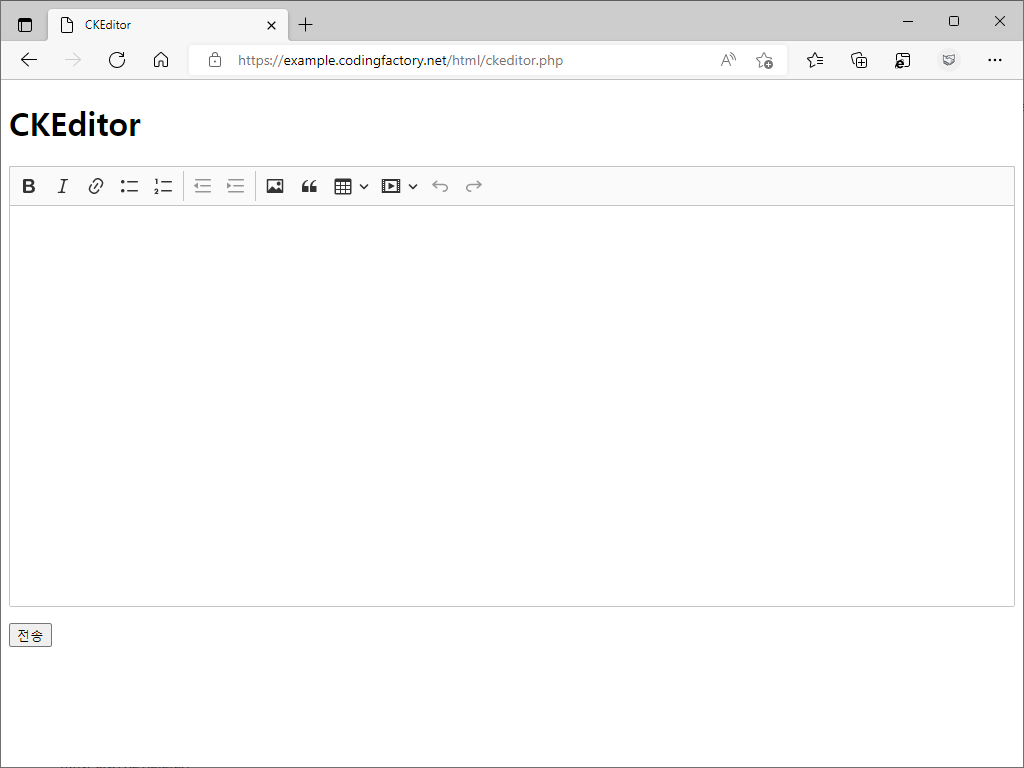
ckeditor.js를 연결하고, textarea에 적용한다. document.querySelector;의 ID는 textarea의 ID이다.
<!doctype html>
<html lang="ko">
  <head>
  <meta charset="utf-8">
    <title>CKEditor</title>
  </head>
  <body>
    <h1>CKEditor</h1>
    <form action="" method="POST">
      <textarea name="text" id="editor"></textarea>
    <p><input type="submit" value="전송"></p>
    </form>
    <script src="https://cdn.ckeditor.com/ckeditor5/34.0.0/classic/ckeditor.js"></script>
    <script>
      ClassicEditor.create( document.querySelector( '#editor' ) );
    </script>
  </body>
</html>

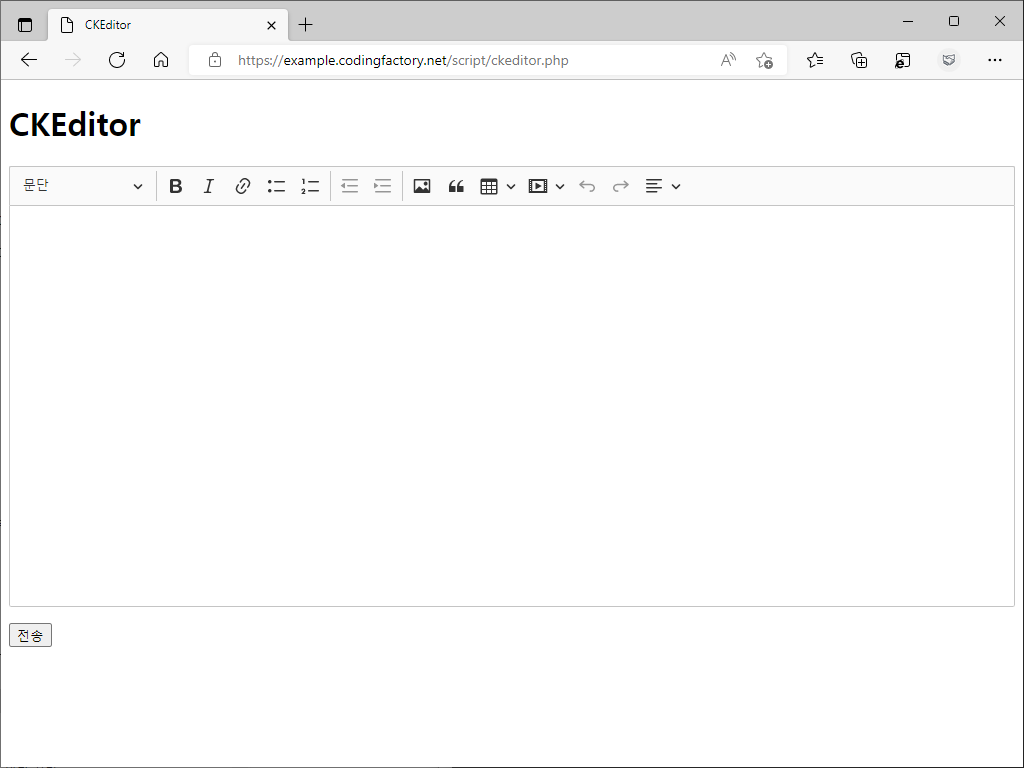
한글로 사용하기 위해서는 ko.js를 연결하고 옵션을 추가한다.
<script src="https://cdn.ckeditor.com/ckeditor5/34.0.0/classic/ckeditor.js"></script>
<script src="https://cdn.ckeditor.com/ckeditor5/34.0.0/classic/translations/ko.js"></script>
<script>
  ClassicEditor.create( document.querySelector( '#editor' ), {
    language: "ko"
  } );
</script>
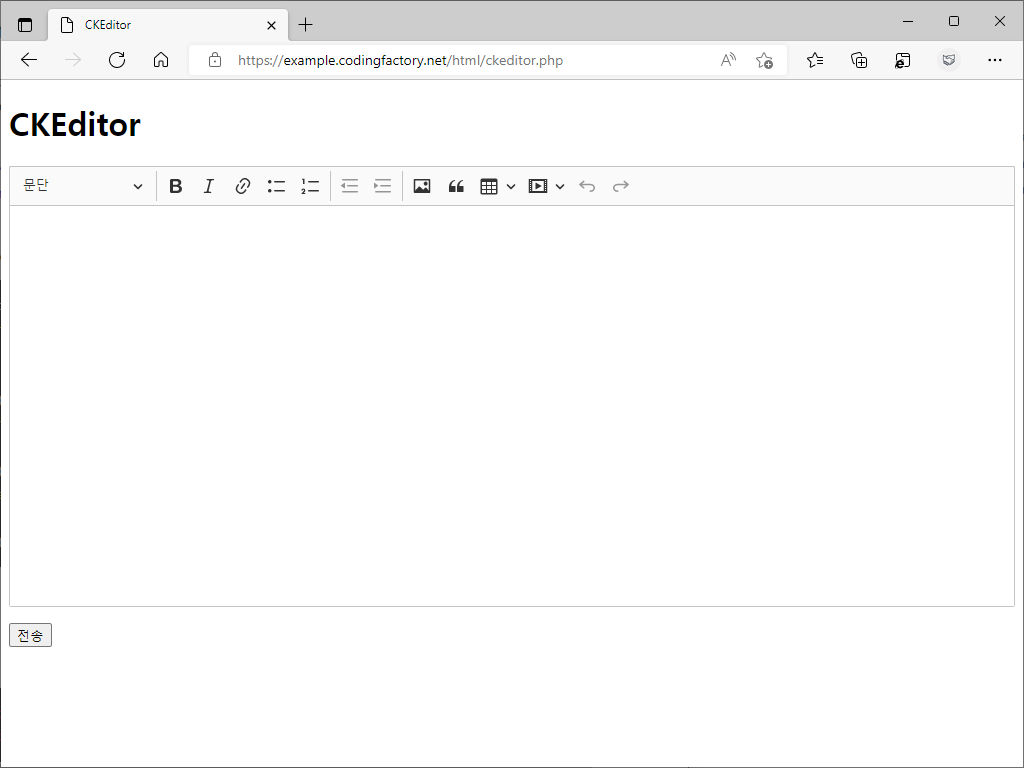
에디터의 크기는 CSS로 정하는 것이 편하다.
<style>
  .ck-editor__editable { height: 400px; }
</style>
<style>
  .ck-editor__editable { height: 400px; }
  .ck-content { font-size: 12px; }
</style>
에디터에 적용되는 CSS는 https://ckeditor.com/docs/ckeditor5/latest/installation/advanced/content-styles.html에서 볼 수 있다.
필요 없는 기능은 removePlugins로 제거한다.
<script>
  ClassicEditor.create( document.querySelector( '#editor' ), {
    removePlugins: [ 'Heading' ],
    language: "ko"
  } );
</script>
다운로드하여 사용하기
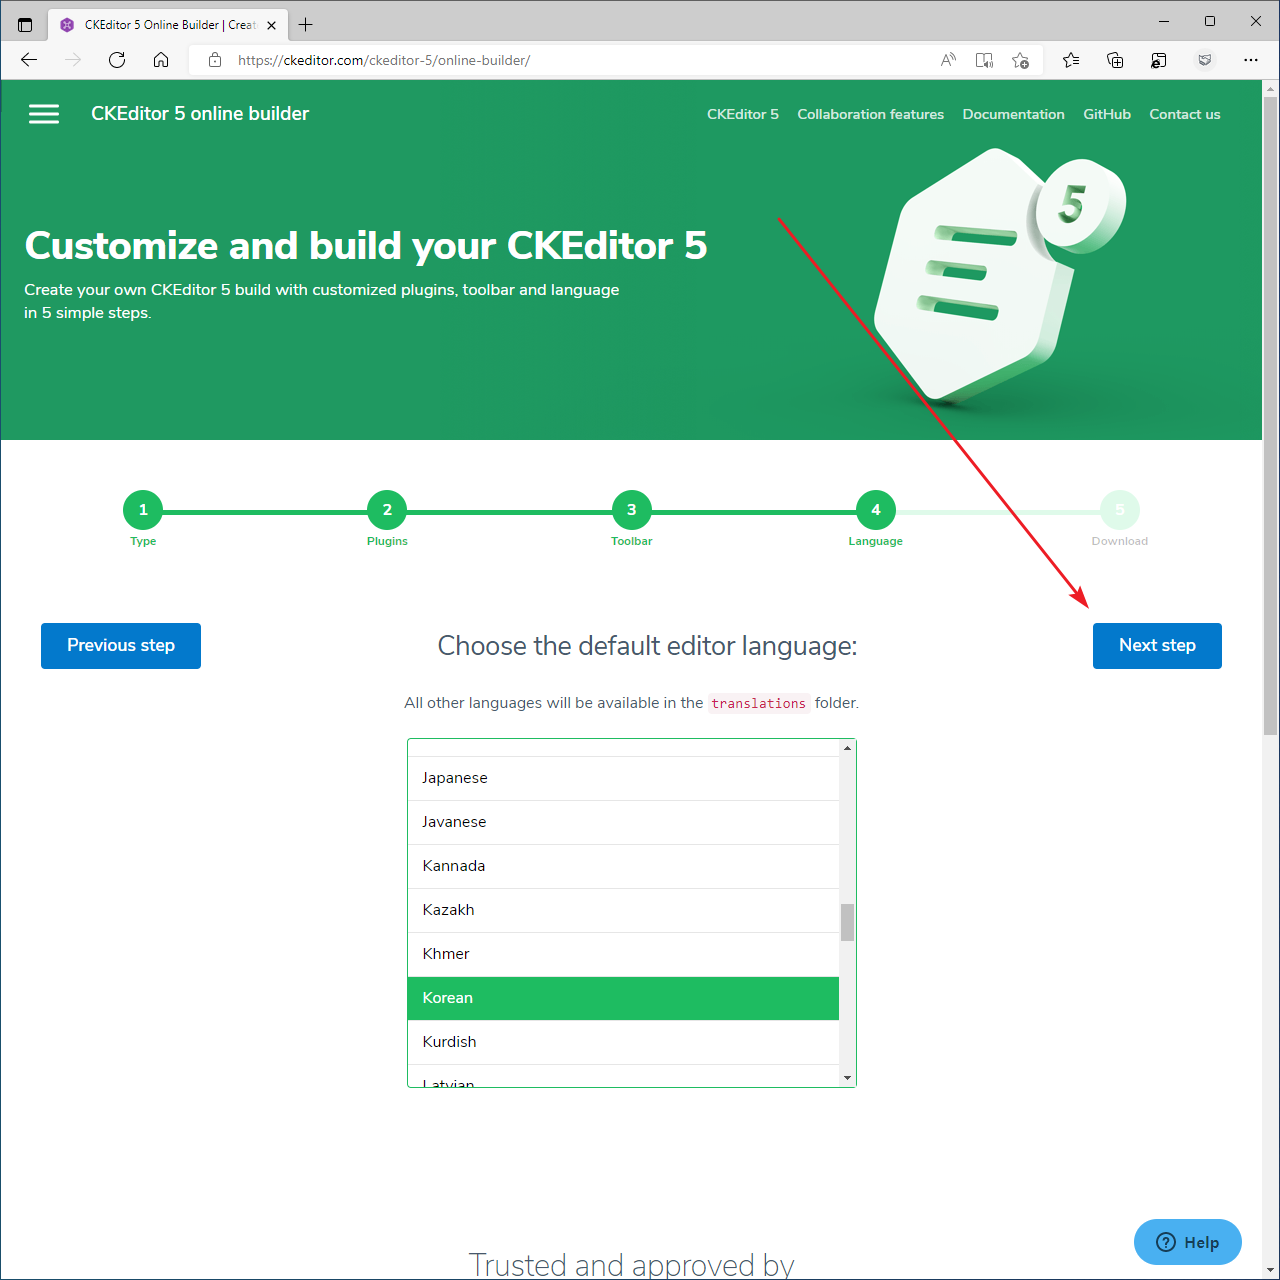
- CKEditor 5 online builder에 접속한다.
- 원하는 에디터 타입을 선택한다. 여기서는 Classic으로 진행하겠다.

- 에디터에 포함할 플러그인을 선택한다. 별표가 있는 것은 프리미엄으로, 유료 제품이다.
- 선택을 마쳤으면 [Next step]을 클릭한다.

- 위의 것이 사용 가능한 플러그인, 밑에 것이 에디터에서 보이는 플러그인이다.
- 드래그하여 에디터에서 보일 플러그인은 정하고, 순서도 정한다. 나중에 코드로 변경할 수 있지만, 가능하다면 여기서 맞추는 게 편하다.
- [Next step]을 클릭한다.

- 언어를 선택하고 [Next step]을 클릭한다.
- [Start]를 클릭한고 잠시 기다리면...

- 다운로드 할 수 있다.

- 다운로드한 파일의 압축을 풀고 서버에 업로드한다. 연결할 스크립트는 build 폴더 안의 ckeditor.js이다.
- 나머지 코드는 CDN 사용 시의 코드와 같다.
<!doctype html>
<html lang="ko">
  <head>
  <meta charset="utf-8">
    <title>CKEditor</title>
    <style>
      .ck-editor__editable { height: 400px; }
      .ck-content { font-size: 12px; }
    </style>
  </head>
  <body>
    <h1>CKEditor</h1>
    <form action="" method="POST">
      <textarea name="text" id="editor"></textarea>
    <p><input type="submit" value="전송"></p>
    </form>
    <script src="ckeditor/build/ckeditor.js"></script>
    <script>
      ClassicEditor.create( document.querySelector( '#editor' ) );
    </script>
  </body>
</html>
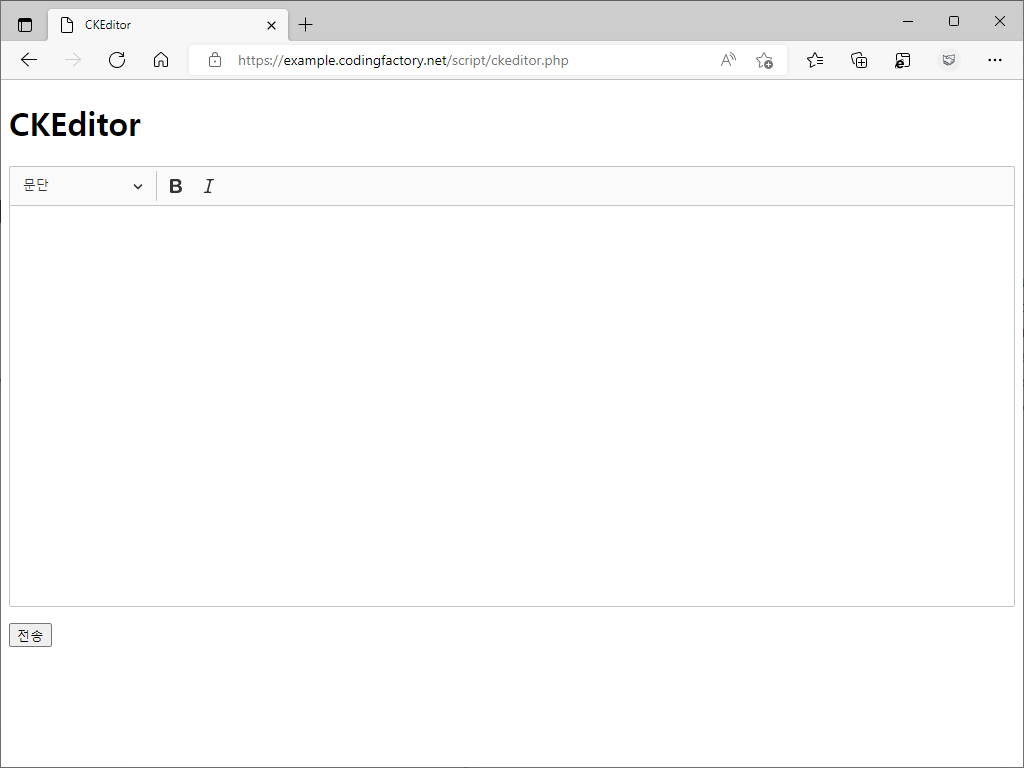
- 툴바에 보여지는 플러그인은 아래와 같은 방법으로 정할 수 있다.
<script>
  ClassicEditor.create( document.querySelector( '#editor' ), {
    toolbar: [
      'heading',
      '|',
      'bold',
      'italic'
    ]
  } );
</script>
기타
- https://ckeditor.com/docs/ckeditor5/latest/api/module_core_editor_editorconfig-EditorConfig.html
JavaScript / Event / onsubmit / 폼 전송하기 전에 작업 수행하게 하는 이벤트
JavaScript의 onsubmit 이벤트를 이용하면 폼의 값을 전송하기 전에 어떤 작업을 하게 할 수 있습니다. 간단한 예제로 어떻게 작동하는지 알아보겠습니다. 예제 1 간단한 회원 가입 페이지를 만듭니다. 전송 버튼은 input 태그로 만듭니다. Register를 클릭하면 ok.html로 이동합니다. <!doctype html> <html lang="ko"> <head> <meta charset="utf-8"> <title>JavaScript</title> <style> ...

JavaScript / 함수 / parseFloat(), parseInt() - 문자열을 수로 바꾸는 함수
parseFloat() parseFloat()는 문자열을 실수로 바꾸는 함수입니다. 문법 parseFloat( string ) 수로 시작할 때 그 수를 실수로 바꿉니다. 띄어 쓰기로 여러 개의 수가 있으면 첫번째 수만 바꿉니다. 공백으로 시작하면 공백은 무시합니다. 수가 아닌 문자로 시작하면 NaN을 반환합니다. 예제 <!doctype html> <html lang="ko"> <head> <meta charset="utf-8"> <title>JavaScript</title> <style> body { font-family: Consolas, monospace; } </style> </head> <body> <script> document.write( "<p>parseFloat( '12.34' ) : " + parseFloat( '12.34' ) + "</p>" ); document.write( "<p>parseFloat( ' 12.34' ...
JavaScript / 구문(Statement) 넣는 방법
자바스크립트는 줄바꿈을 하면 구문(Statement)이 종료된 것으로 봅니다. var jb1 = 'Lorem' var jb2 = 'Ipsum' 하지만, 구문이 완성되지 않았다면 다음 줄까지 해석합니다. 즉 var jb1 = 'Lorem' 과 var jb1 = 'Lorem' 은 같습니다. 구문이 종료되었음을 명확히 표시할 때는 세미콜론(;)을 사용합니다. var jb1 = 'Lorem'; var jb2 = 'Ipsum'; 세미콜론 사용은 선택사항이지만, 한 줄에 여러 구문을 쓸 때는 구문과 구문 사이에 꼭 ...
JavaScript / Object / Math.max(), Math.min()
Math.max(), Math.min() Math.max()는 주어진 값 중에서 최댓값을, Math.min()은 최솟값을 반환합니다. 문법 Math.max( number1, number2, number3, ... ) Math.min( number1, number2, number3, ... ) 예제 1 10, 20, 30 중에서 최댓값과 최솟값을 구합니다. <!doctype html> <html lang="ko"> <head> <meta charset="utf-8"> <title>JavaScript</title> <style> body { font-family: Consolas, monospace; } </style> </head> <body> <script> document.write( '<p>Math.max( 10, 20, 30 ) : ' + Math.max( 10, 20, 30 ) + '</p>' ); document.write( '<p>Math.min( 10, ...
JavaScript / 함수 / isNaN() / 매개변수가 숫자인지 검사하는 함수
isNaN() isNaN() - 매개변수가 숫자인지 검사하는 함수입니다.(NaN은 Not a Number입니다.) 문법 isNaN( value ) value : 검사할 값을 입력합니다. 매개변수가 숫자가 아니면 true, 숫자이면 false를 반환합니다. 예제 123.123은 숫자이므로 false를 반환합니다. '123.123'은 따옴표로 감쌌지만, 숫자로 취급하여 false를 반환합니다. 'Not a Number'는 숫자가 아니므로 true를 반환합니다. 123*123은 숫자이므로 false를 반환합니다. '123*123'은 따옴표 안에 문자가 있으므로 숫자가 아닌 것으로 취급하여 true를 반환합니다. <!doctype html> <html ...
JavaScript / Object / .innerText, .innerHTML
.innerText .innerText은 특정 요소의 텍스트를 가져오거나, 특정 요소의 텍스트를 변경한다. 문법 1 - 내용 가져오기 element의 내용을 가져온다. element.innerText id의 값이 xyz인 요소의 내용을 변수 jb에 저장한다. var jb = document.getElementById( 'xyz' ).innerText; 예제 1 id의 값이 jb인 요소의 텍스트를 가져와서 출력한다. 태그 등은 제외한 텍스트만 가져온다. <!doctype html> <html lang="ko"> <head> <meta charset="utf-8"> ...
JavaScript / Object / document.writeln()
.writeln() .writeln()은 문서에 문자, 코드 등을 쓰는 메서드입니다. .write()와 다른 점은 줄바꿈 기호가 들어간다는 것입니다. 예제 .writeln()에는 줄바꿈 기호가 들어갑니다. 하지만 HTML 특성 상 한 칸 띄어쓴 것처럼 보입니다. pre 태그로 감싸면 줄바꿈이 제대로 표현됩니다. <!doctype html> <html lang="ko"> <head> <meta charset="utf-8"> <title>JavaScript</title> <style> body { font-family: Consolas, monospace; } </style> </head> <body> <p><strong>document.write</strong></p> <script> document.write( ...
JavaScript / 함수 / encodeURI(), encodeURIComponent(), decodeURI(), decodeURIComponent()
encodeURI(), encodeURIComponent(), decodeURI(), decodeURIComponent() encodeURI() : 인터넷 주소에서 사용하는 :, ;, /, =, ?, & 등을 제외하고 인코딩하는 함수입니다. encodeURIComponent() : 모든 문자를 인코딩하는 함수입니다. decodeURI() : encodeURI()로 인코딩한 문자열을 디코딩하는 함수입니다. decodeURIComponent() : encodeURIComponent()로 인코딩한 문자열을 디코딩하는 함수입니다. 문법 encodeURI( uri ) encodeURIComponent( uri ) decodeURI( uri ) decodeURIComponent( uri ) uri : 인코딩하려는 인터넷 주소를 입력합니다. 예제 특수문자와 한글을 포함한 URI를 인코팅, ...
JavaScript / Object / Array.length / 배열의 길이 반환하는 속성
.length .length는 배열의 길이를 반환하는 속성입니다. 마지막 원소의 인덱스 값보다 1 큰 수를 반환합니다. 배열에 속한 원소의 개수와는 의미가 다릅니다. 문법 array.length 예제 <!doctype html> <html lang="ko"> <head> <meta charset="utf-8"> <title>JavaScript</title> <style> body { font-family: Consolas, sans-serif; font-style: italic; } </style> </head> <body> <script> var jbAry1 = ; document.write( '<p>jbAry1.length : ' ...
JavaScript / Object / document.URL / 문서의 URL을 반환하는 속성
.URL .URL 속성으로 문서의 URL을 가져올 수 있습니다. 문법 document.URL 예제 문서의 URL을 출력합니다. <!doctype html> <html lang="ko"> <head> <meta charset="utf-8"> <title>JavaScript</title> <style> body { font-family: Consolas, monospace; } </style> </head> <body> <script> document.write( "<p>document.URL : " + document.URL + "</p>" ); </script> </body> </html> JavaScript / Object / Location - URL 정보 가져오는 객체