jQuery / Plugin / jquery.mb.YTPlayer / 유튜브 영상을 배경으로 사용하게 해주는 플러그인
컴퓨터 사양이 좋아지고 네트워크 속도가 빨라지면서, 홈페이지의 배경으로 동영상을 사용하는 곳이 많아지고 있습니다. 동영상을 배경으로 사용하는 방법은, 서버에 동영상을 올려놓고 video 태그로 넣는 방법과 유튜브에 업로드하고 불러오는 방법이 있습니다.
유튜브를 이용하면 트래픽 비용을 줄일 수 있다는 장점이 있는데, 영상 제목이나 콘트롤 바, 공유 등 불필요한 내용까지 보여준다는 단점도 있습니다. 그 단점을 해결해주는 것이 jquery.mb.YTPlayer입니다. 영상만 깔끔하게 보여줄 수 있게 도와줍니다.
다운로드 / CDN
jquery.mb.YTPlayer는 다운로드 또는 CDN 서비스로 사용할 수 있습니다.
- 홈페이지 : https://github.com/pupunzi/jquery.mb.YTPlayer
- CDN : https://cdnjs.com/libraries/jquery.mb.YTPlayer
예제 1
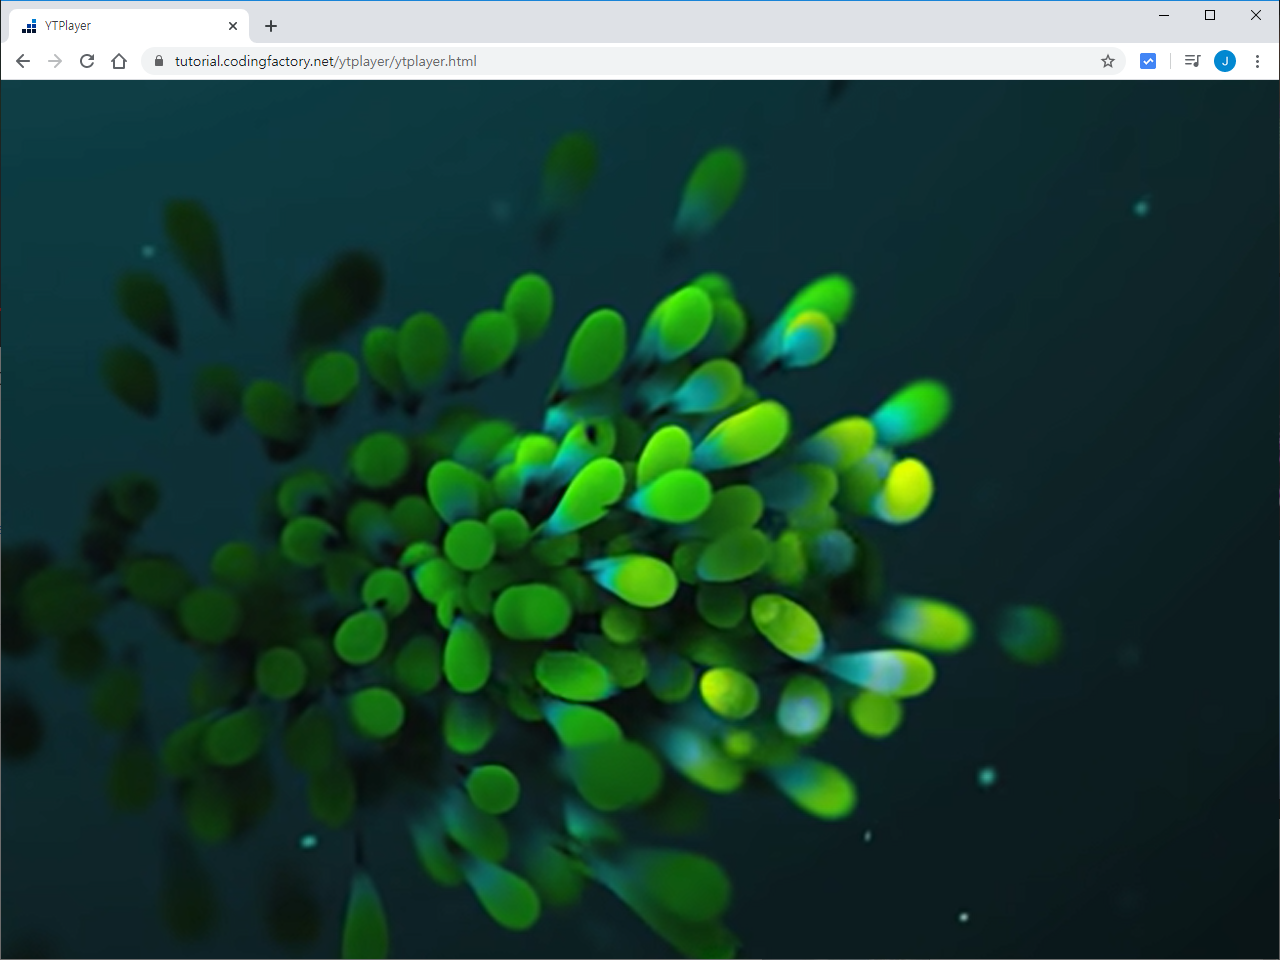
다음 영상을 배경으로 넣어보겠습니다.
전체 코드는 다음과 같습니다.
<!doctype html>
<html lang="ko">
  <head>
  <meta charset="utf-8">
    <title>YTPlayer</title>
    <link rel="stylesheet" href="https://cdnjs.cloudflare.com/ajax/libs/jquery.mb.YTPlayer/3.3.1/css/jquery.mb.YTPlayer.min.css">
    <script src="//code.jquery.com/jquery-3.3.1.min.js"></script>
    <script src="https://cdnjs.cloudflare.com/ajax/libs/jquery.mb.YTPlayer/3.3.1/jquery.mb.YTPlayer.min.js"></script>
    <script>
      jQuery( function() {
        jQuery( '#background' ).YTPlayer();
      } );
    </script>
  </head>
  <body>
    <div id="background" class="player" data-property="{
      videoURL:'https://youtu.be/KKjuRJh_3LY',
      mute: true,
      showControls: false,
      useOnMobile: true,
      quality: 'highres',
      containment: 'body',
      loop: true,
      autoPlay: true,
      stopMovieOnBlur: false,
      startAt: 0,
      opacity: 1
    }"></div>
  </body>
</html>
웹브라우저를 꽉 채워서 영상을 재생합니다.
하나씩 분석해보면...
<link rel="stylesheet" href="https://cdnjs.cloudflare.com/ajax/libs/jquery.mb.YTPlayer/3.3.1/css/jquery.mb.YTPlayer.min.css">
- jquery.mb.YTPlayer의 CSS를 불러옵니다.
<script src="//code.jquery.com/jquery-3.3.1.min.js"></script>
- jQuery를 불러옵니다.
<script src="https://cdnjs.cloudflare.com/ajax/libs/jquery.mb.YTPlayer/3.3.1/jquery.mb.YTPlayer.min.js"></script>
- jquery.mb.YTPlayer의 스크립트 파일을 불러옵니다.
<script>
  jQuery( function() {
    jQuery( '#background' ).YTPlayer();
  } );
</script>
- #background에 대하여 실행합니다.
<div id="background" class="player" data-property="{
  videoURL:'https://youtu.be/KKjuRJh_3LY',
  mute: true,
  showControls: false,
  useOnMobile: true,
  quality: 'highres',
  containment: 'body',
  loop: true,
  autoPlay: true,
  stopMovieOnBlur: false,
  startAt: 0,
  opacity: 1
}"></div>
- #background를 정의합니다. 상세한 설정은 여기서 확인할 수 있습니다.
- videoURL : 영상의 주소입니다.
- mute : 자동 실행하려면 소리를 없애야 합니다.
- showControls : 재생 등 콘트롤 바를 보여줄지 정합니다.
- useOnMobile: : 모바일 기기에서도 재생할지 정합니다.
- quality : 영상 품질을 정합니다.
- containment: 영상이 들어갈 위치입니다. body인 경우, 웹브라우저에 꽉 차게 영상을 보여줍니다.
- loop : 반복 여부를 정합니다.
- autoPlay : 자동 재생 여부를 정합니다.
- stopMovieOnBlur : 다른 프로그램을 활성하는 등, 포커스가 이동했을 때 재생 여부를 정합니다.
- startAt : 시작 시점을 정합니다.
- opacity : 불투명도를 정합니다.
예제 2
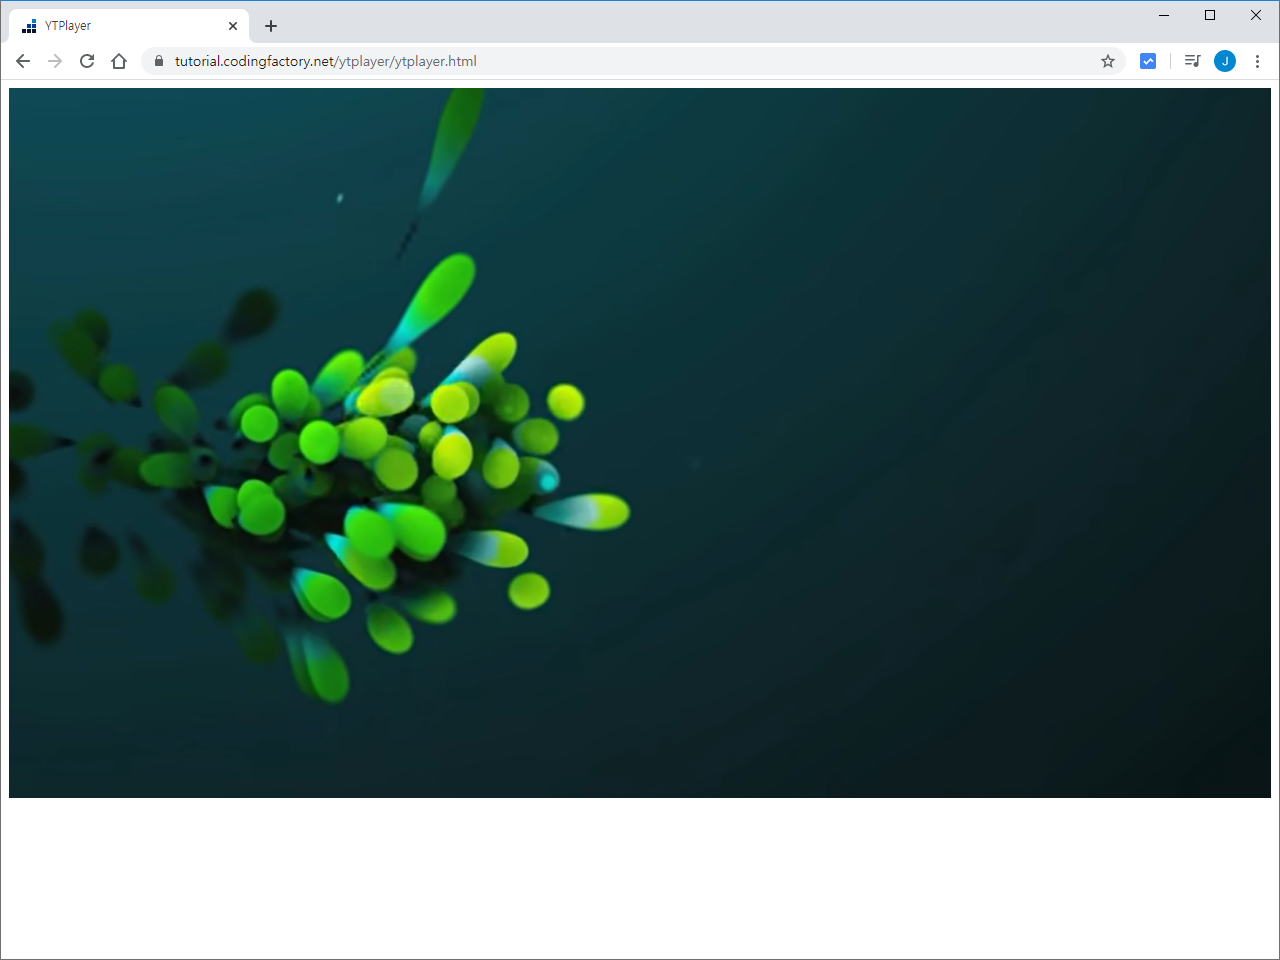
특정 요소 안에 영상을 넣는 예제입니다.
<!doctype html>
<html lang="ko">
  <head>
  <meta charset="utf-8">
    <title>YTPlayer</title>
    <link rel="stylesheet" href="https://cdnjs.cloudflare.com/ajax/libs/jquery.mb.YTPlayer/3.3.1/css/jquery.mb.YTPlayer.min.css">
    <script src="//code.jquery.com/jquery-3.3.1.min.js"></script>
    <script src="https://cdnjs.cloudflare.com/ajax/libs/jquery.mb.YTPlayer/3.3.1/jquery.mb.YTPlayer.min.js"></script>
    <script>
      jQuery( function() {
        jQuery( '#background' ).YTPlayer();
      } );
    </script>
    <style>
      #background { z-index: -1; }
    </style>
  </head>
  <body>
    <div id="background" class="player" data-property="{
      videoURL:'https://youtu.be/KKjuRJh_3LY',
      mute: true,
      showControls: false,
      useOnMobile: true,
      quality: 'highres',
      containment: 'self',
      loop: true,
      autoPlay: true,
      stopMovieOnBlur: false,
      startAt: 0,
      opacity: 1
    }"></div>
  </body>
</html>
첫번째 예제와 다른 점은...
<style>
  #background { z-index: -1; }
</style>
- z-index를 낮춥니다. 그래야 마우스로 클릭하여 영상을 멈추게하는 것을 막을 수 있습니다.
containment: 'self',
- 자신의 영역 안에 영상이 나오도록 합니다.
예제 3
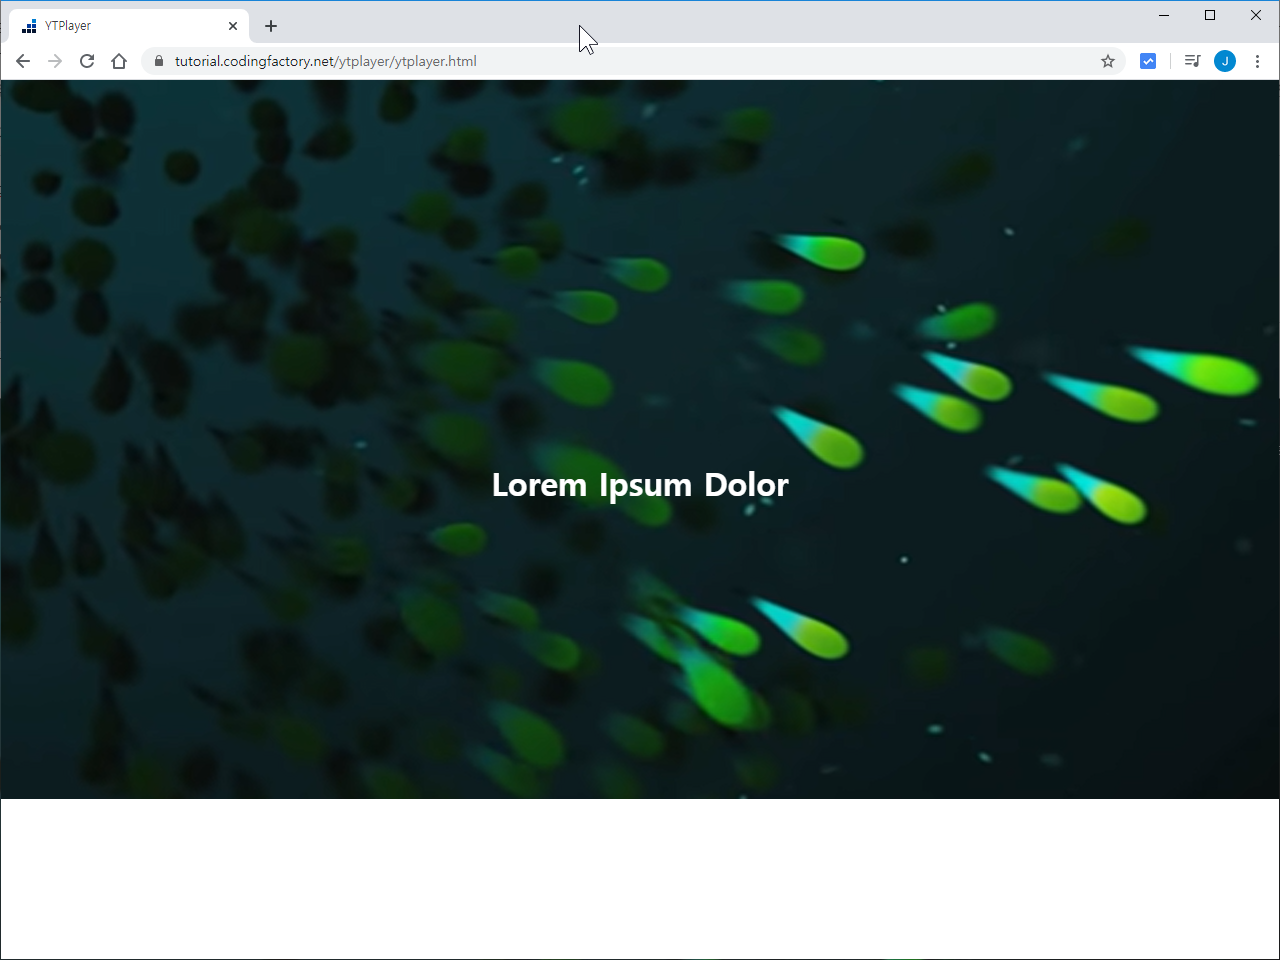
다음은 동영상 위에 텍스트를 추가한 간단한 예제입니다.
<!doctype html>
<html lang="ko">
  <head>
  <meta charset="utf-8">
    <title>YTPlayer</title>
    <link rel="stylesheet" href="https://cdnjs.cloudflare.com/ajax/libs/jquery.mb.YTPlayer/3.3.1/css/jquery.mb.YTPlayer.min.css">
    <script src="//code.jquery.com/jquery-3.3.1.min.js"></script>
    <script src="https://cdnjs.cloudflare.com/ajax/libs/jquery.mb.YTPlayer/3.3.1/jquery.mb.YTPlayer.min.js"></script>
    <script>
      jQuery( function() {
        jQuery( '#background' ).YTPlayer();
      } );
    </script>
    <style>
      body { margin: 0px; }
      .jb-box { position: relative; }
      #background { z-index: -1; }
      .jb-text { position: absolute; top: 50%; left: 50%; width: 400px; margin-left: -200px; text-align: center; color: #ffffff; }
    </style>
  </head>
  <body>
    <div class="jb-box">
      <div id="background" class="player" data-property="{
        videoURL:'https://youtu.be/KKjuRJh_3LY',
        mute: true,
        showControls: false,
        useOnMobile: true,
        quality: 'highres',
        containment: 'self',
        loop: true,
        autoPlay: true,
        stopMovieOnBlur: false,
        startAt: 0,
        opacity: 1
      }"></div>
      <div class="jb-text">
        <h1>Lorem Ipsum Dolor</h1>
      </div>
    </div>
  </body>
</html>

jQuery / Method / .detach() - 선택한 요소를 문서에서 제거하고 저장하는 메서드
.detach() .detach()는 선택한 요소를 문서에서 제거합니다. 제거한다는 면에서는 .remove()와 같으나, .detach()는 제거한 요소를 저장하여 다시 사용할 수 있습니다. 문법 .detach( ) 예를 들어 var jb = $( 'h1' ).detach(); 는 h1 요소를 문서에서 제거하고 변수 jb에 저장합니다. 예제 Cut 버튼을 클릭하면 Dolor를 잘라내고, Paste 버튼을 클릭하면 Ipsum 위에 붙여넣습니다. <!doctype html> <html lang="ko"> <head> ...
Slider bxSlider slick Uncategorized Smooth Scroll : 한 페이지에 있는 링크 사이를 부드럽게 이동하게 해주는 플러그인 jQuery Actual : 보이지 않는 요소의 크기를 가져오는 플러그인 vTicker : 아래에서 위로 스크롤되는 티커
jQuery / Method / .get() - 선택한 요소를 배열로 가져오는 메서드
.get() .get()은 선택한 요소를 배열(Array)로 가져옵니다. 문법 .get() 선택한 모든 요소를 가져옵니다. .get( index ) 선택한 요소 중 특정한 것만 가져옵니다. 예제 1 모든 li 요소를 jb 배열로 가져온 후, 각 요소의 내용을 출력합니다. <!doctype html> <html lang="ko"> <head> <meta charset="utf-8"> <title>jQuery</title> <script src="//code.jquery.com/jquery-3.3.1.min.js"></script> <script> ...
jQuery / Method / .append() - 선택한 요소의 내용의 끝에 콘텐트를 추가하는 메서드
.append() .append()는 선택한 요소의 내용의 끝에 콘텐트를 추가합니다. 문법 .append( content ) 예를 들어 <p>Lorem Ipsum Dolor</p> 가 있을 때 $( 'p' ).append( ' 123' ); 라고 하면 <p>Lorem Ipsum Dolor 123</p> 으로 출력됩니다. 예제 1 순서 없는 목록 마지막에 Dolor를 추가합니다. <!doctype html> <html lang="ko"> <head> <meta charset="utf-8"> <title>jQuery</title> <style> ...
.load() .load()는 다른 문서 등에서 내용을 가져와 현재 문서에 나타냅니다. 문법 .load( url ) 예를 들어 a.html의 p 요소를 가져와 div 요소 안에 넣으려면 다음과 같이 합니다. $( 'div' ).load( 'a.html p' ); 예제 load-02.html에서 id 값이 ab인 요소를 가져와서, 현재 문서의 id 값이 xy인 요소 안에 넣습니다. load-01.html <!doctype html> <html lang="ko"> ...
jQuery / Method / .addClass() - 클래스 값을 추가하는 메서드
.addClass() .addClass()로 선택한 요소에 클래스 값을 추가할 수 있습니다. 문법 .addClass( className ) 클래스 값은 큰 따옴표 또는 작은 따옴표로 감쌉니다. $( 'h1' ).addClass( 'abc' ); 띄어쓰기로 구분하여 여러 개의 값을 추가할 수 있습니다. $( 'h1' ).addClass( 'ab cd ef' ); 페이지가 로드된 상태에서 클래스 값이 추가되는 것이므로, 추가되기 전의 모양에서 추가된 후의 모양으로 변하는 것을 방문자가 볼 ...
jQuery / Method / .html() - 선택한 요소 안의 내용을 가져오거나, 다른 내용으로 바꾸는 메서드
.html() .html()은 선택한 요소 안의 내용을 가져오거나, 다른 내용으로 바꿉니다. .text()와 비슷하지만 태그의 처리가 다릅니다. 문법 1 .html() HTML 태그를 포함하여 선택한 요소 안의 내용을 가져옵니다. 예를 들어 var jb = $( 'h1' ).html(); 는 h1 요소의 내용을 변수 jb에 저장합니다. 문법 2 .html( htmlString ) 이전 내용을 지우고 새로운 내용을 넣습니다. 예를 들어 $( 'div' ).html( '<h1>Lorem</h1>' ); 는 div ...
jQuery / Method / .remove() - 선택한 요소를 제거하는 메서드
.remove() .remove()는 선택한 요소를 HTML 문서에서 제거합니다. 문법 .remove( ) 특정 선택자를 가진 요소를 제거할 때는 괄호 안에 선택자를 넣습니다. 예를 들어 $( 'p' ).remove( '.rm' ); 은 클래스 값으로 rm을 가진 p 요소를 제거합니다. 다음과 같이 해도 결과는 같습니다. $( 'p.rm' ).remove(); 예제 버튼을 클릭하면 rm을 클래스 값으로 가지는 h1 요소를 제거합니다. <!doctype html> <html lang="ko"> <head> ...
jQuery / Method / .removeAttr() - 선택한 요소의 특정 속성을 제거하는 메서드
.removeAttr() .removeAttr()은 선택한 요소의 특정 속성을 제거한다. 문법 attributeName 속성을 제거한다. .removeAttr( attributeName ) 예를 들어 아래는 h1 요소에서 title 속성을 제거한다. $( 'h1' ).removeAttr( 'title' ); 예제 input 요소의 placeholder 속성을 제거한다. <!doctype html> <html lang="ko"> <head> <meta charset="utf-8"> <title>jQuery</title> <style> input { font-size: ...
jQuery / 스크롤해도 상단에 고정되는 메뉴 만들기
상단 고정 메뉴 웹페이지의 내용이 많으면 아래로 스크롤해서 보게 됩니다. 그러면 페이지에 있는 모든 내용이 움직이고 상단에 있는 메뉴도 위로 사라지게 됩니다. 이렇게 되면 페이지의 내용을 다 보고 다른 메뉴로 이동하려 할 때 다시 문서의 위로 스크롤해서 올라가야 하는 불편이 있습니다. 모바일 기기에서라면 더욱 불편합니다. 이 불편을 해소하는 방법 중의 하나가 메뉴를 고정시키는 ...